[ Home] [ ** UK MogStock 2009 - 29-31 May ** ] [ Playing with and improving the mog ] [ Restoring a '61 Unimog ]
[ Building a 3 seat hovercraft ] [ Entering Scrapheap Challenge ] [ Two large and stupid motorbikes ] [ EvilStock(tm) 2004 - the festival ] [ EvilStock 2(tm) 2007 ] [ UK MogStock 2006 ] [ UK MogStock 2008 ] [ Car related stuff ] [ Other random nonsense ] [ Pete's Projectile Projects ] [ Links ] [ email me - jim ATE foodfight.org.uk ][ Restoration Home ] [ Buying a Unimog ] [ Fixing the cab - Part I ] [ Fixing the cab - Part II ] [ Taking it apart 1 ] [ Taking it apart 2 ] [ Finishing taking it apart - 3 ] [ Painting it all ] [ Starting to put it together - 1 ] [ Starting to look real again - 2 ] [ It's a Unimog - 3 ] [ Finishing the cab ] [ Putting the cab back on ] [ First day of hooning ] [ Finishing it off ] [ We got a HIAB (and another Mog) ]
Let it be finished.
 |
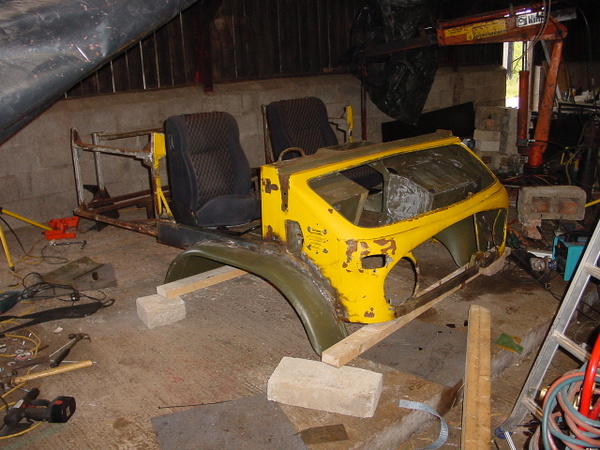
The cab goes back to the farm. It's been gone 11 months, and god - does my garage seem huge now! There are noticeable differences from when it went away!!! I think there are in the region of 30 substantial patches, and about another 30 little bits. Everything is welded or brazed. |
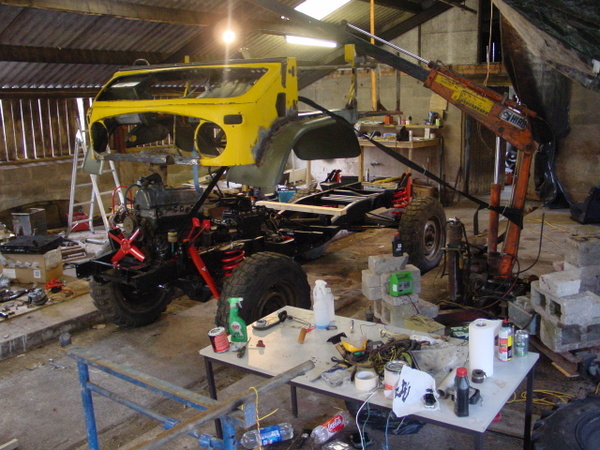 |
We were going to drop it on and see if it fitted OK, but forgot abut the steering box being in the way. It dangled for a while, and then we set it down. |
|
Finally time to get some seats. We wanted simple (easy to fit), from a two door (so the back folds forward) and from a crashed car (so they were'nt old and f**ked). We found an MG Metro of all things, with nice seats in good condition. I may even return for the back seats and seatbelts. Had to fabricate seat mounts without the cab being attached, but one can at least guess where the pedals are! |
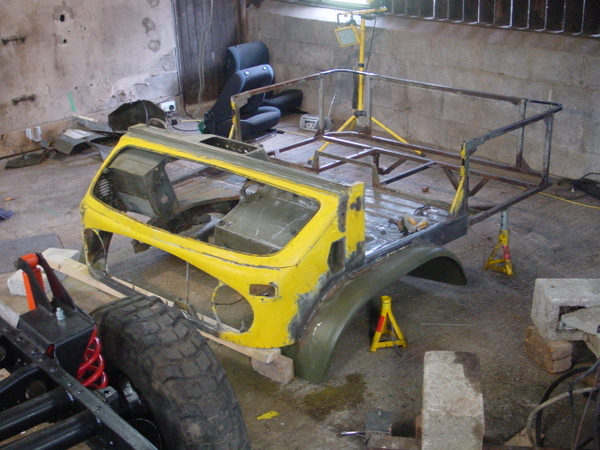 |
Seats out, all the welding done, well nearly. |
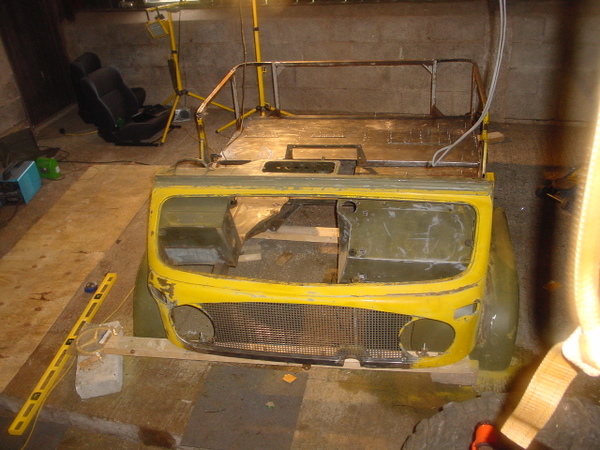 |
I've cut, drilled and fabbed the floor for the back out of some very cheap 2mm sheet steel. I've discovered that if you go to **really** big engineering works, their offcuts are huge. We've also bought and cut the new grille. Now, what colour should it be? If it's black, it will look old fashioned. If it is body coloured, it'll look cheap. The only other option is shiny, so we bought a piece of very nice perforated stainless steel. It's nearly right (9mm squares instead of 7.5mm), but is fine. It will polish up fantastically. |
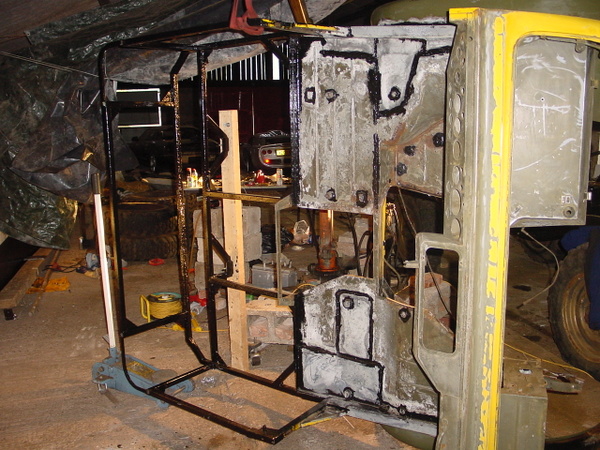 |
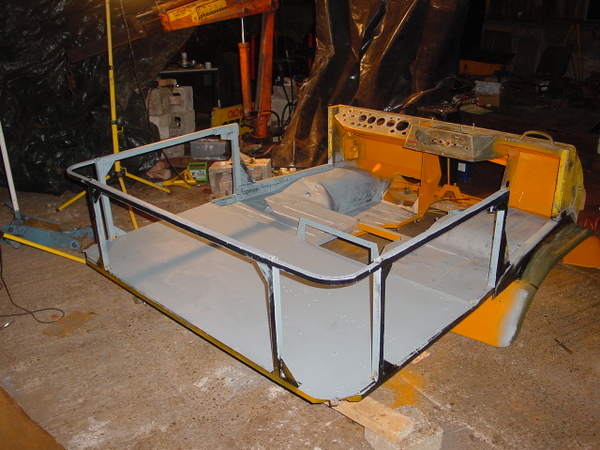
Now the floor is pulled off so the frame can be painted, which I'm doing now. After a year of intermittent effort, it is nice to have some paint on in. |
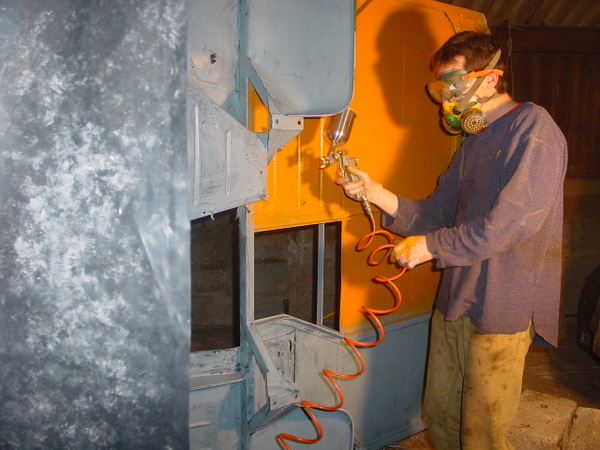 |
Yes, we have a large amount of very orange paint (colour code - RAL2000). It's some single application primer/topcoat. In the shop we decided it was probably the best thing for munging large amounts of orange paint onto a 44 year old tractor. Particularly since and I've never sprayed anything before, and especially since I decided that since we didn't know what any of the knobs did on the spraygun, I was just going to get used to how it came out initially. "After all, it's not like it's a mercedes droptop or anything" Hmmmmm (PS: somewhere in between, I did some priming. So dull, it wasn't worth taking photo's of) |
 |
It is a fabulous orange, just tarty enough, without being too tarty. I think. As a cunning way of "getting good" at spraying, I did the bottom first, hence the slightly odd colour scheme. |
 |
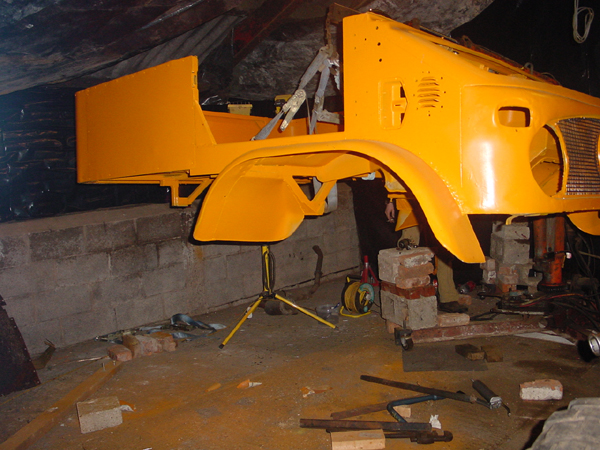
Just got to attach the sides, and then I get to do some more painting. |
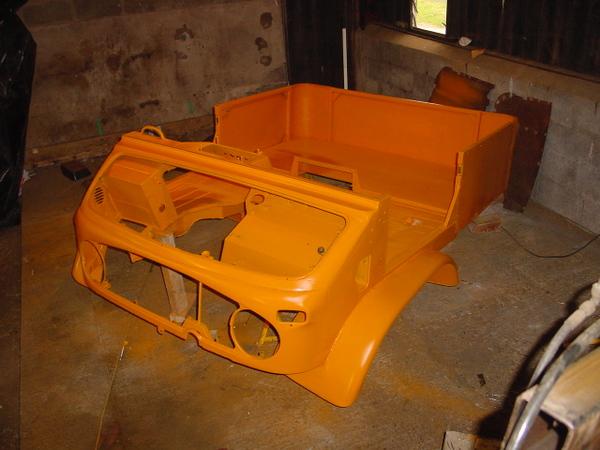 |
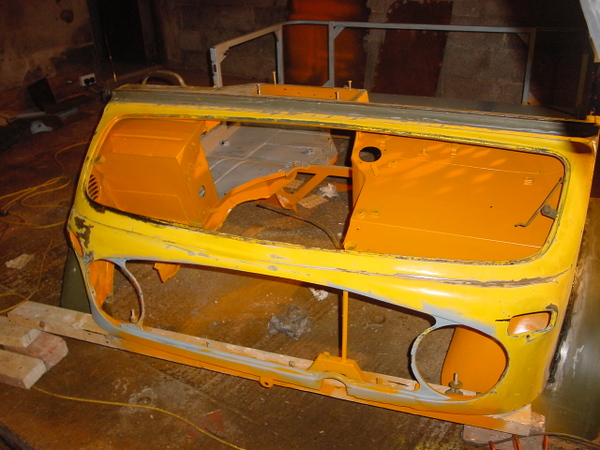
Oh my god! It looks like a toy. Once we have bolted it to the chassis, and then added all the shiny, black or red items to it it will be amazing. |
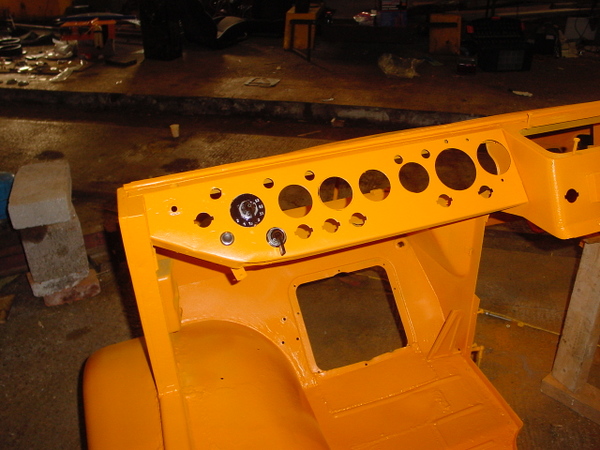 |
Thought we'd put a few of the switches in to see how it looked. Pretty damn good. |
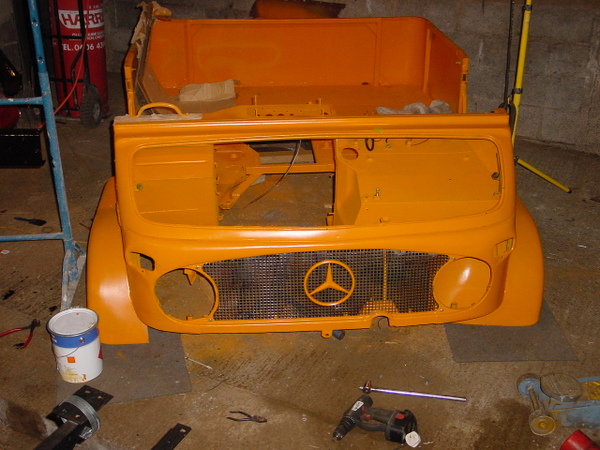 |
Hehehehehe I like the grille a lot. |
 |
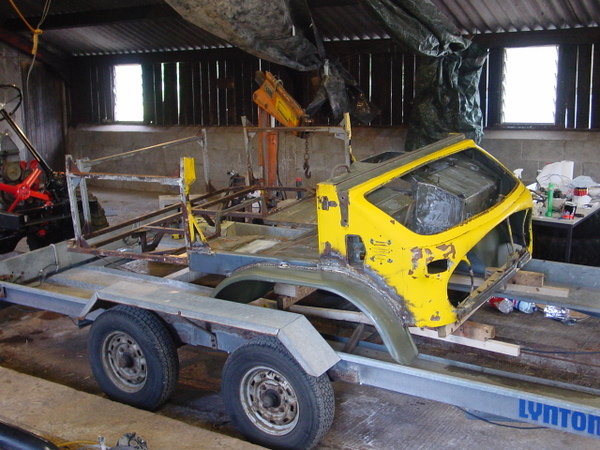
Off she goes, to whence she came. |
More soon.