[ Home] [ ** UK MogStock 2009 - 29-31 May ** ] [ Playing with and improving the mog ] [ Restoring a '61 Unimog ]
[ Building a 3 seat hovercraft ] [ Entering Scrapheap Challenge ] [ Two large and stupid motorbikes ] [ EvilStock(tm) 2004 - the festival ] [ EvilStock 2(tm) 2007 ] [ UK MogStock 2006 ] [ UK MogStock 2008 ] [ Car related stuff ] [ Other random nonsense ] [ Pete's Projectile Projects ] [ Links ] [ email me - jim ATE foodfight.org.uk ][ Upgrading and playing index ] [ Changing wheel output seals ] [ Making a proper back bed ] [ Registering the Mog properly ] [ Doing stuff with it ] [ Further playing with it ] [ Fitting a rollcage ] [ Other Bits and Bats ] [ Adding mudlflaps, a box and crane to the back ] [ The first bit's of '08 mogging **new 30/03/08** ] [ Time for a roof **new 30/03/08** ]
Cannibalising the old for the new (again)
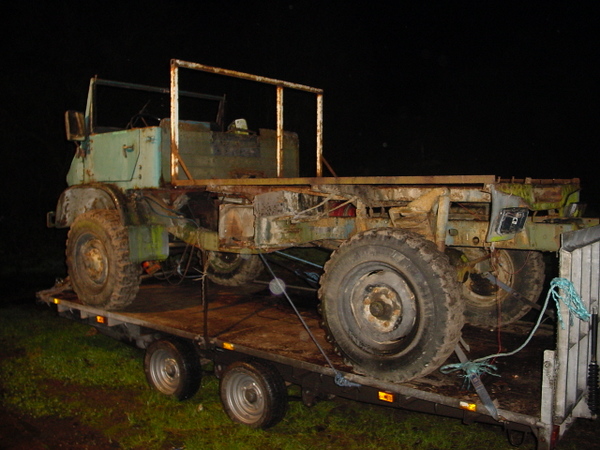 |
This is the only picture I have of the old troop carrier bed before I removed it. There are two kinds of 404 back bed that account for the chassis flex in different ways; #1 - this. This is a troop carrier. One side of the bed is mounted solidly to the chassis in 3 places. The other (drivers) side has upside down hangers (!), they are mounted on bushes and are vertical. When the chassis flexes, they give a little. #2 - Radio boxes. These have a diamond shape mount. At the centre of the box (just forward of the back wheels) there are solid mounts either side of the chassis rails. Front and back have one mount in the centre of the chassis, with a tube to add rigidity. |
 |
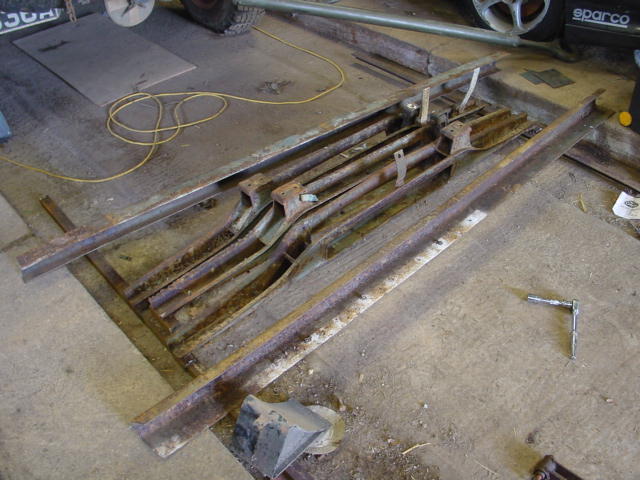
This bed is about 9 foot long, ours is going to be a very cutesy 6' 2" square. I was going to cut the "C" section and weld it all back together. Simon (fixing his mog in the shed) suggested taking it apart and putting it back together and only lopping the (bent) ends off. Out with the trusty angle grinder, left the hangers attached until I made it into sections. It's only held together with 12 welds, and off they came. |
|
Here are the bits (and they sat for 3 months) |
 |
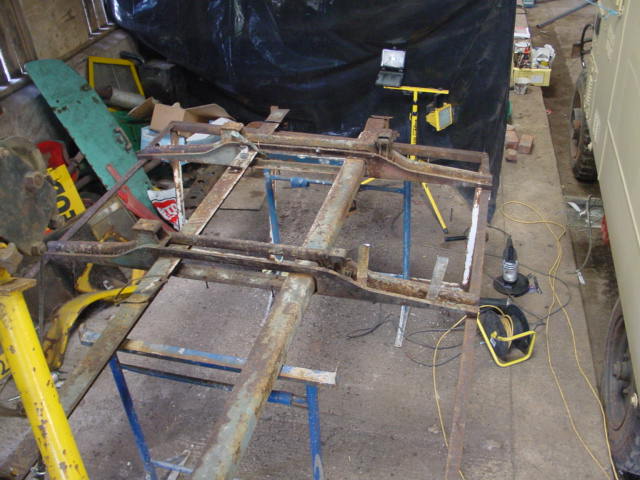
I've removed four of the bed mounts from spares mog. The ones on the right here are the front mounts from the bed (Ingrid has them as the back mounts of the cab) - I've shortened and "adjusted" them to be new front mounts. The left hand one is the original middle mount. The hangers have been painted as well. The observant reader will notice that it is the "wrong" way round, this because of the HIAB, which will be on the left, so I wanted the solid mounts on that side. |
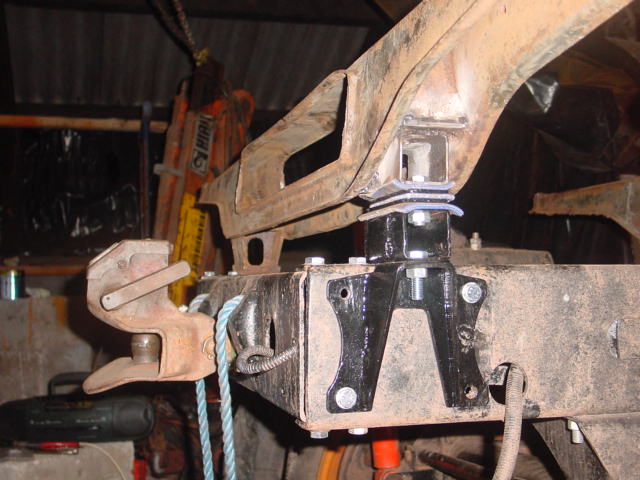 |
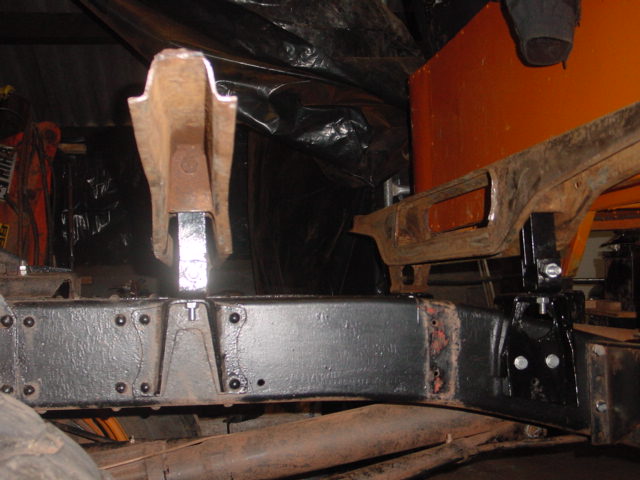
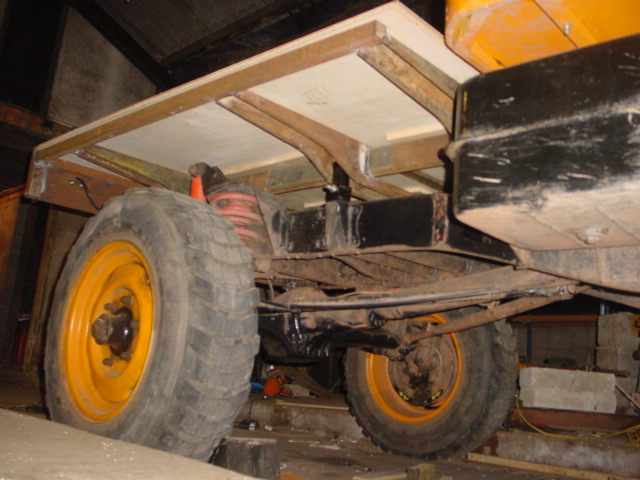
The back mount is, err, non-stock. I want to have the HIAB, and also be able to use the Harvey Frost crane. These will put strong (and dynamic) compressive loads on the mounts. I just didn't like the hangars for this one. This is reinforced 50mm box with a silicon "sandwich" to give flex. |
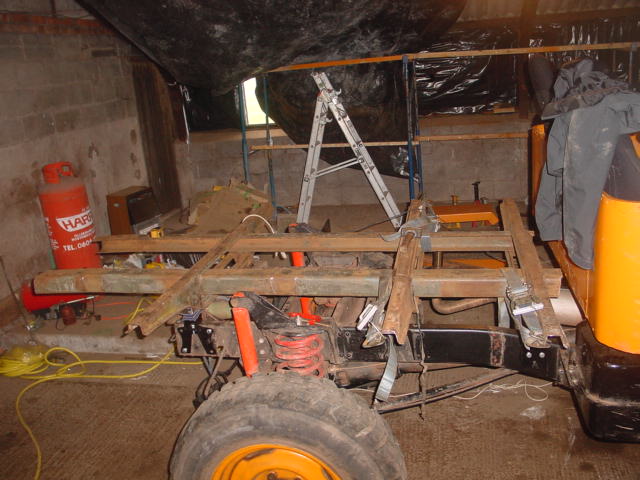 |
Now the 'C' section girder section is in. Slid in rather nicely actually. Welded it back in and suddenly there's a bed. Bit long maybe, but that can be attended to. |
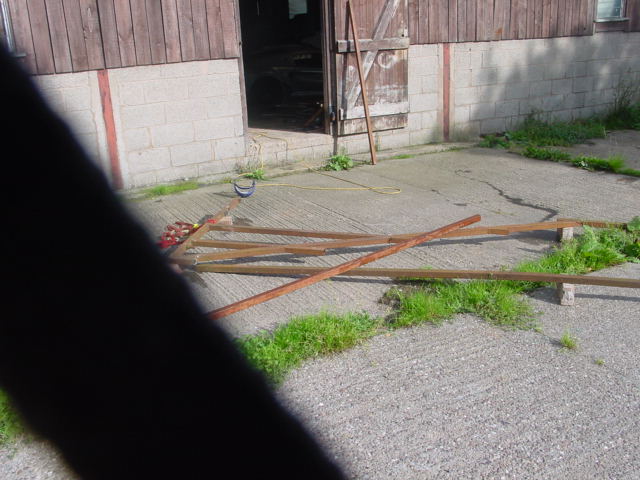 |
I bought a new toy - a 14" cut off saw. It allows me, for the first time, to cut straight! This old gate is toast, and going to a better place. |
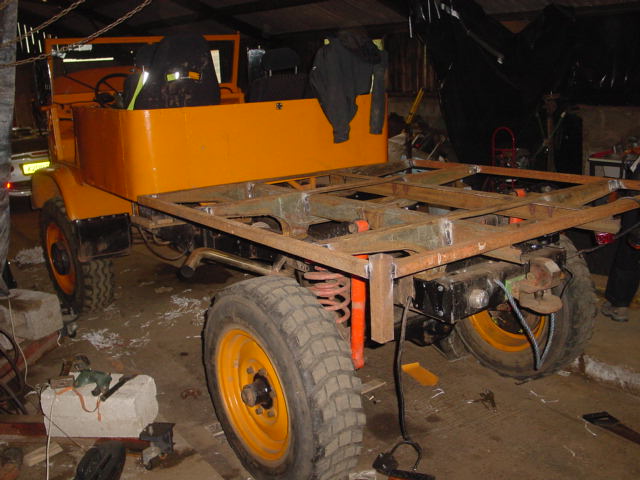 |
And here is that place. A nice box surround with uprights for sides - we'll have drop sides, and maybe a camper. I intend to beef up the back section, and build a subframe for the HIAB. The subframe will have supporting legs - otherwise the mog would roll to about 40 degrees. The mog will become ballast. |
 |
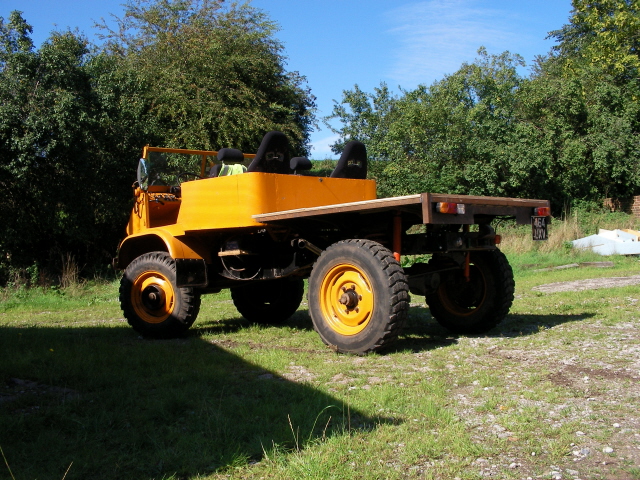
So, finally, a back bed. And largely as Ma Benz intended. We've gone the cheap route and used two thicknesses of 1/2" plywood. We're not sure what to do long term and there is plenty of metal bracing to support it. Actually, it's a lot bigger than I thought - only 190cm square, but feels a decent size. Need to find some sides to finish it off. |
 |
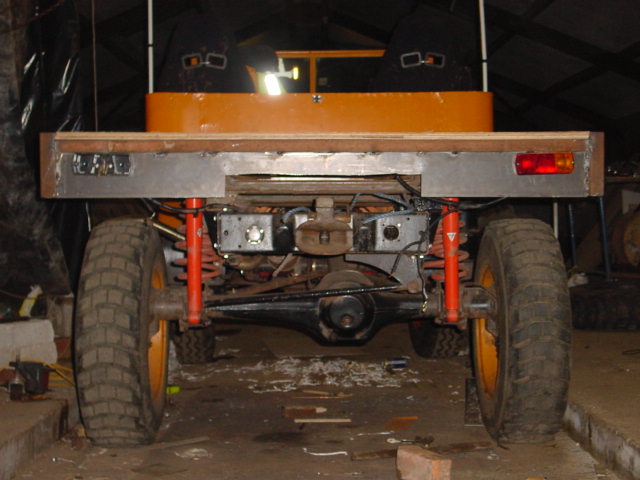
Mostly stock - for now. We'll probably only get it out a few times until before winter, so I haven't painted yet - there's some serious work to do. There are two cranes to fit! Firstly, the "C" section girders will be reinforced with some box section, front to back. The harvey frost (recovery crane) should be easy to fit, across the very back of the bed and with a mount in the middle. The HIAB will be a bit harder. I'm going to build a subframe to go across the very back of the bed. This will have the HIAB on it, and hydraulic legs on each side. To make all this easier, I need to beef up some of it, and then weld in some captive nuts to make fitting easier. |
 |
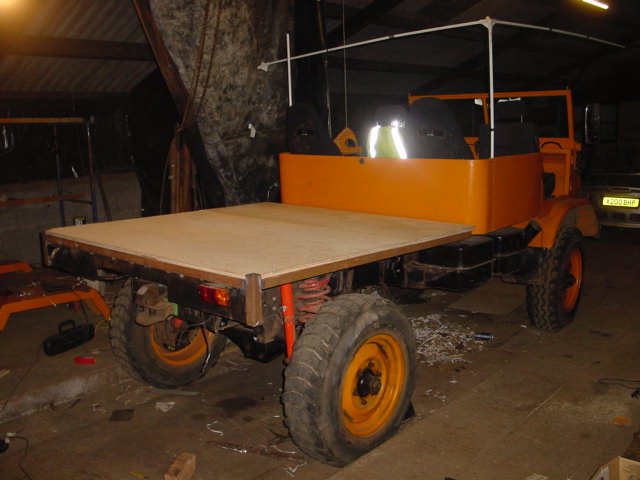
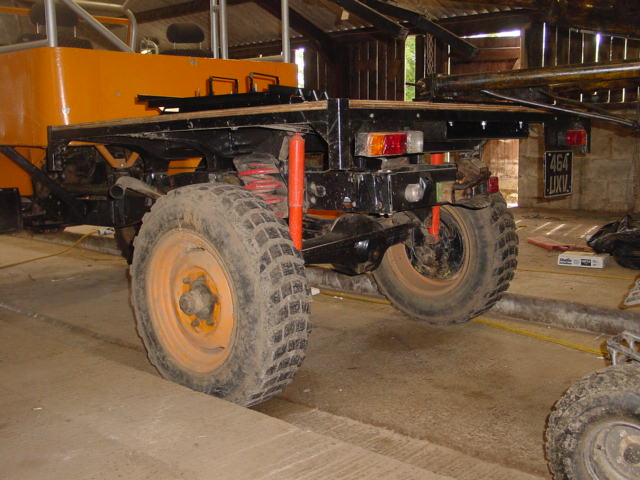
This back bit is just for the lights and suchforth. hoping it'll look abit less crap with everything on it. |
 |
Well, it does look better with some lights and stuff on it. There's more to do over winter as mentioned above, but it'll do for now. |
 |
It looks even better now painted, with the lights attached better, the wood trimmed and bolted, a hatch in the middle for the batteries and uprights welded into all the corners. That horrendous bit of steel across the back has also gone. |
More soon.